- News
- Reviews
- Bikes
- Components
- Bar tape & grips
- Bottom brackets
- Brake & gear cables
- Brake & STI levers
- Brake pads & spares
- Brakes
- Cassettes & freewheels
- Chains
- Chainsets & chainrings
- Derailleurs - front
- Derailleurs - rear
- Forks
- Gear levers & shifters
- Groupsets
- Handlebars & extensions
- Headsets
- Hubs
- Inner tubes
- Pedals
- Quick releases & skewers
- Saddles
- Seatposts
- Stems
- Wheels
- Tyres
- Tubeless valves
- Accessories
- Accessories - misc
- Computer mounts
- Bags
- Bar ends
- Bike bags & cases
- Bottle cages
- Bottles
- Cameras
- Car racks
- Child seats
- Computers
- Glasses
- GPS units
- Helmets
- Lights - front
- Lights - rear
- Lights - sets
- Locks
- Mirrors
- Mudguards
- Racks
- Pumps & CO2 inflators
- Puncture kits
- Reflectives
- Smart watches
- Stands and racks
- Trailers
- Clothing
- Health, fitness and nutrition
- Tools and workshop
- Miscellaneous
- Buyers Guides
- Features
- Forum
- Recommends
- Podcast
feature
 Cassette.JPG
Bike maintenance: Learn how to fit & remove sprockets in 12 steps
If you want a different range of gears such as lower gears for a holiday in the mountains or tighter gears for racing, the easiest way to achieve that is to change the sprockets on your rear wheel. Here's how to do it.
Sprockets mount on a splined cylinder on the rear hub, called the freehub body. The collection of sprockets is held in place with a lockring.
Modern shifting mechanisms like Shimano's Hyperglide and SRAM's PowerGlide chain-and-sprocket combination rely on correct alignment of shaped teeth and contoured shift gates in the sprocket. To keep this alignment right, the splines on the freehub body are uneven, with one spline larger than the others, so there's only one way the sprockets can fit.
Removing a cassette is the only worthwhile way to clean it. Do so as often as you feel like getting grubby, if you ride in the winter and dirt regularly then it could and maybe should be a weekly thing.
Our guide below shows you what we believe is the best method to fit and remove cassette sprockets. We've included a list of the tools and materials that you will need to complete the job and in some cases where you can buy them. If there are others that you prefer then feel free to let everybody know in the comments.
Tools & Materials
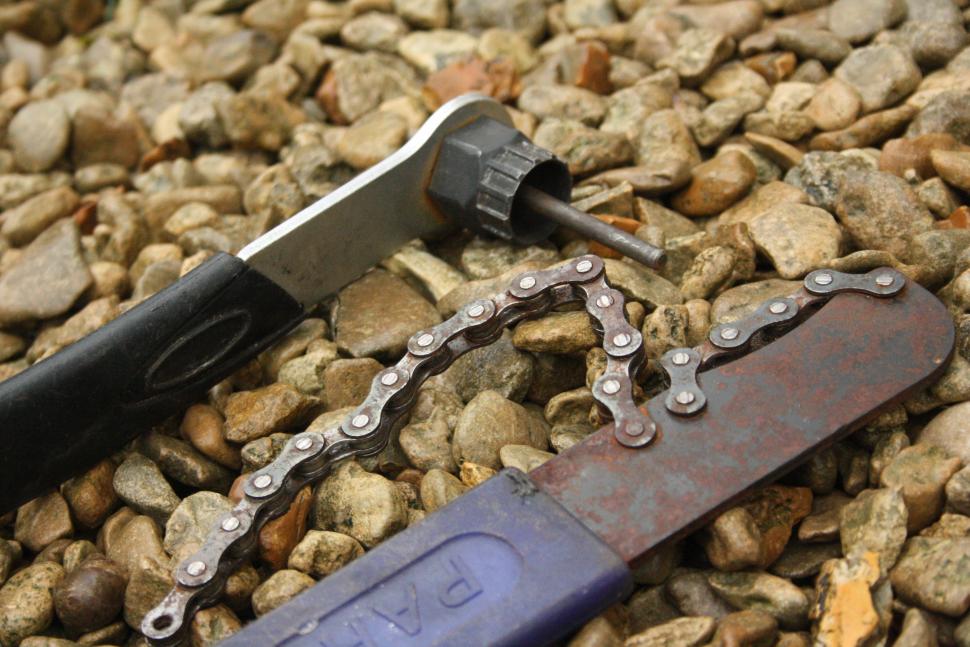
- Chain Whip such as Park Tool SR-1
- Cassette lockring tool such as Cyclo Cassette Lockring Tool for Shimano and SRAM or BBB BTL12 for Campagnolo
The sprockets may be collected together in a number of different ways. In inexpensive steel cassettes each sprocket is a separate toothed disc. Most of the sprockets are held together by long steel pins, with the smallest two or three sprockets loose for separate fitting. While you're changing sprockets this is a good time to consider upgrading to a lighter cluster.
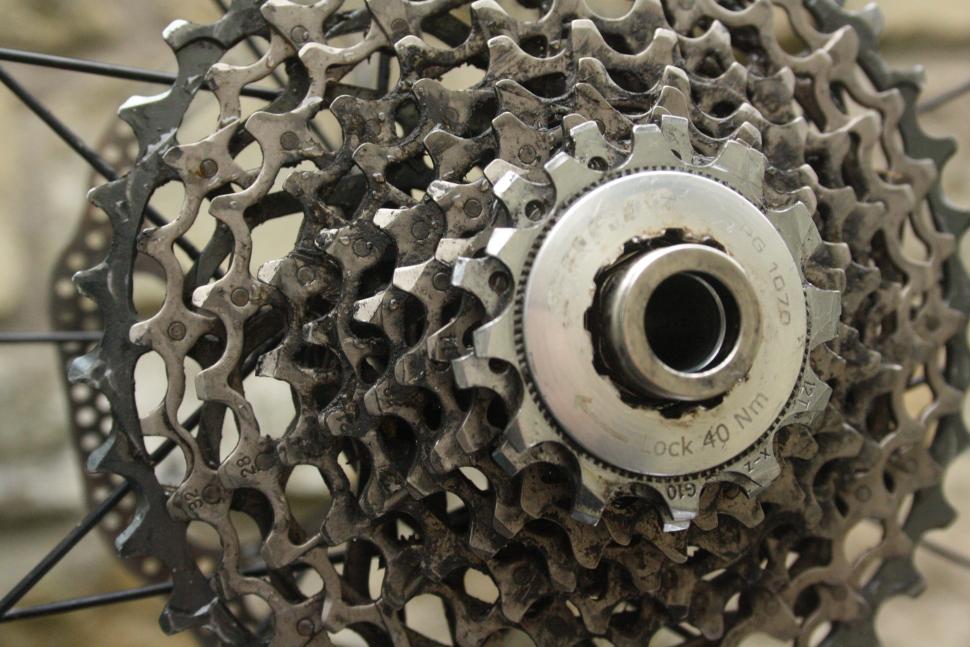
Most lightweight cassettes use one or more stepped alloy carriers for the sprockets which are usually heavily drilled and machined to remove every last gram of surplus material. On some high end cassettes aluminium or titanium is used in place of steel, especially on wide ratio models where the weight saving is greatest and individual tooth loads lower. The cassette pictured below is a SRAM model with the 36-tooth largest sprocket made of alloy while the other nine are steel.
1 Position the chain whip
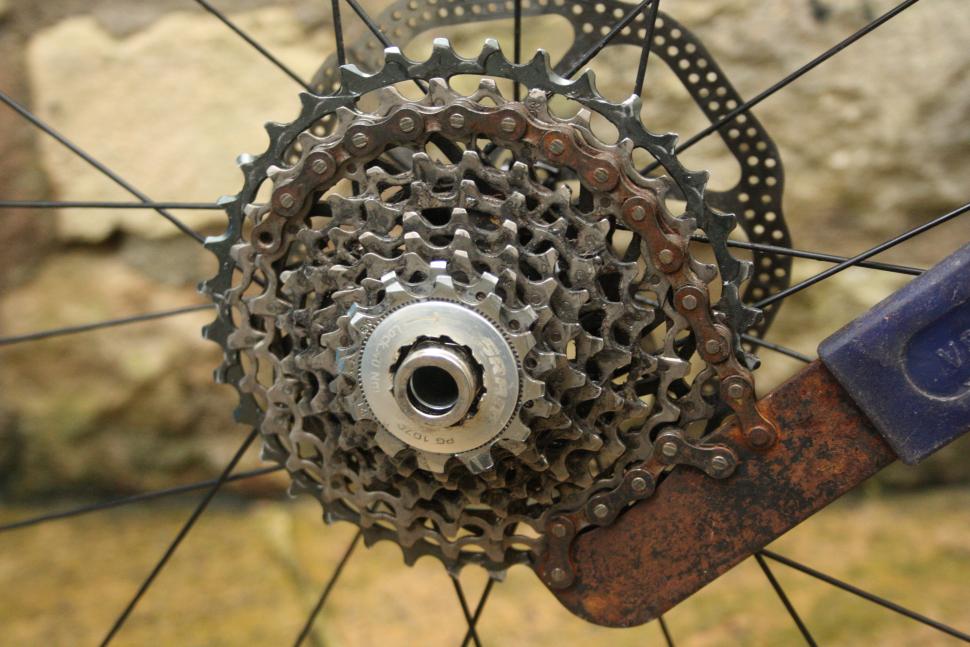
Wrap the long loose end of the chain whip over the top of the cassette as shown so that it is pulling the sprockets clockwise. Engage the fixed portion of the chain whip on the lower portion of the same sprocket that the loose end is attached to. It's best to use one of the middle to upper sprockets, just ensure you've got a good wrap on the sprocket. When it feels firm enough to place a decent amount of pressure on, you're ready to get the cassette removal tool fitted.
2 Insert the lockring tool
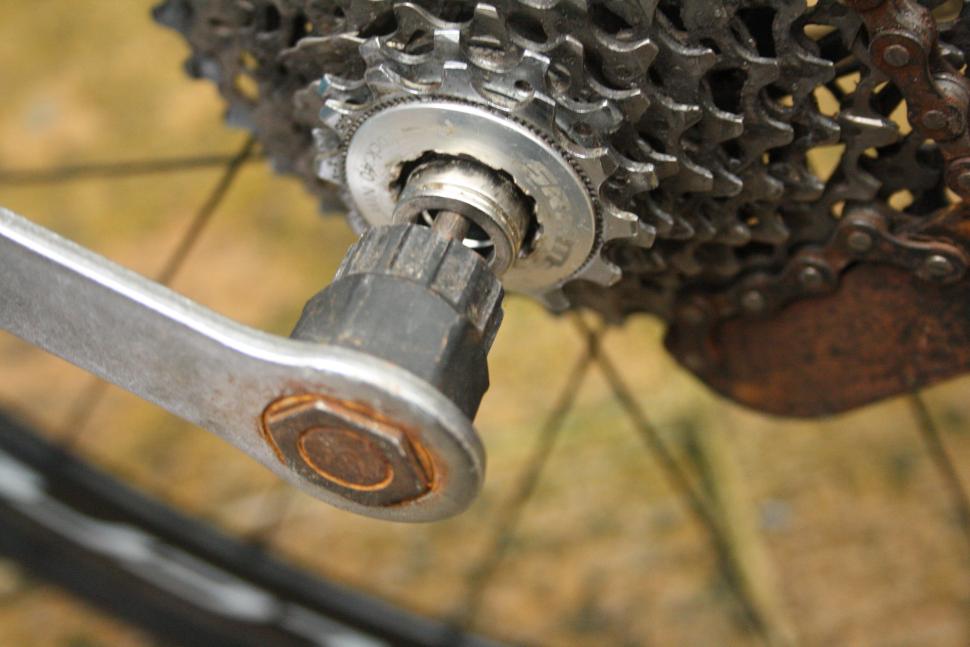
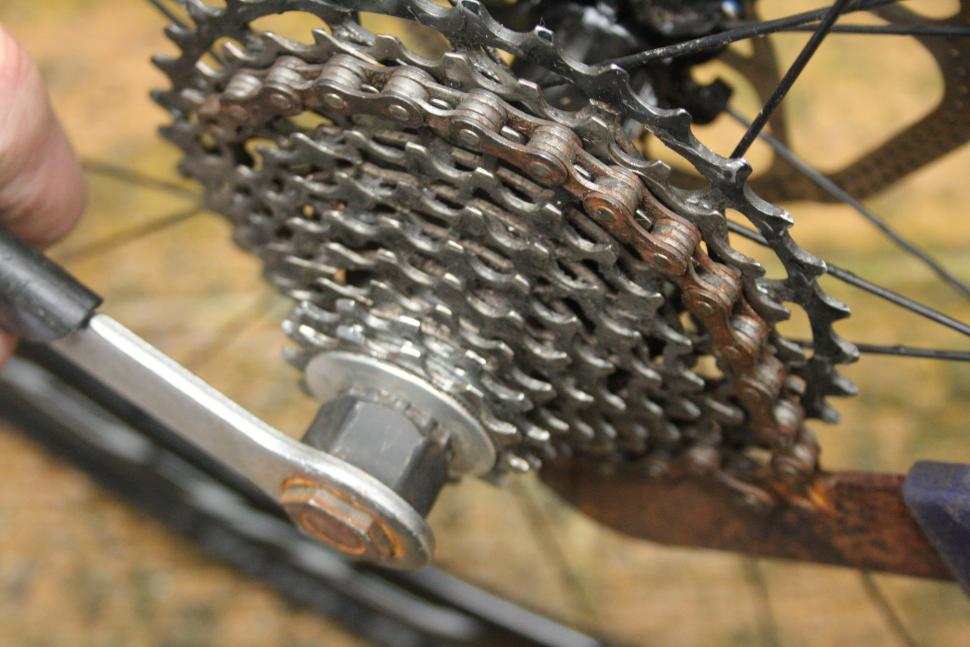
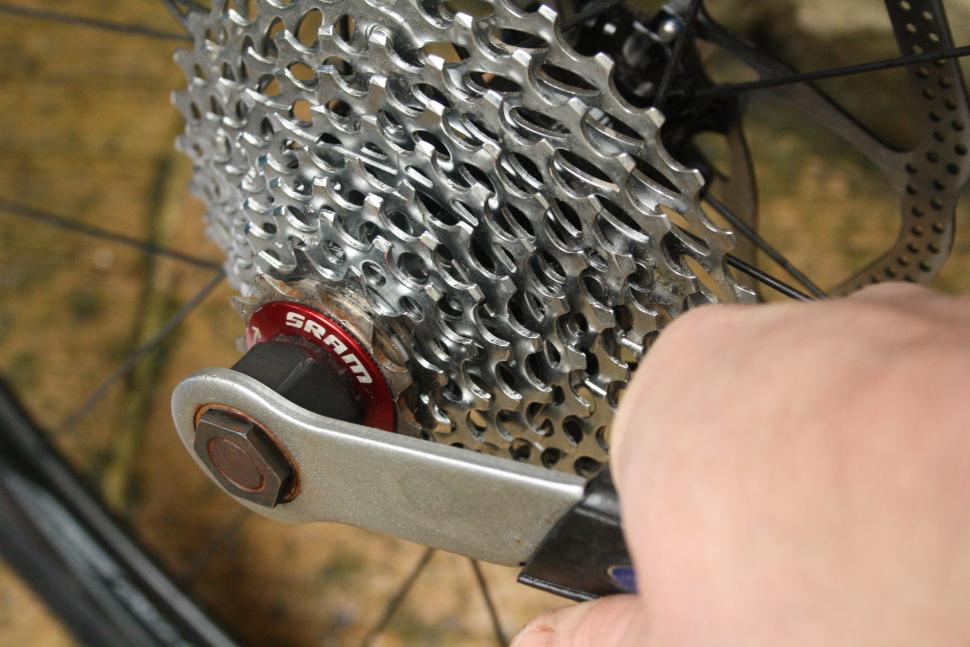
The cassette lockring tool is sometimes integrated with a handle like this one, or it may be a separate tool that needs an adjustable spanner to give leverage. The spines on the tool will match those inside the lockring. The tool handle (or spanner handle) should be positioned to be a reflection of the chain whip. So if you look at the two tools in their fitted state they should resemble clock hands at 'ten to two'. Make sure the tool and lockring are fully engaged before you apply removal pressure. The lockrings are often light alloy and it's very easy to tear the teeth.
3 Unscrew the lockring
With the chain whip is in position and lockring tool in position, apply downward force on both handles. The chain whip will stop the cassette (and freehub) from turning as the lockring tool unscrews the lockring and breaks its grip on the smallest sprocket.
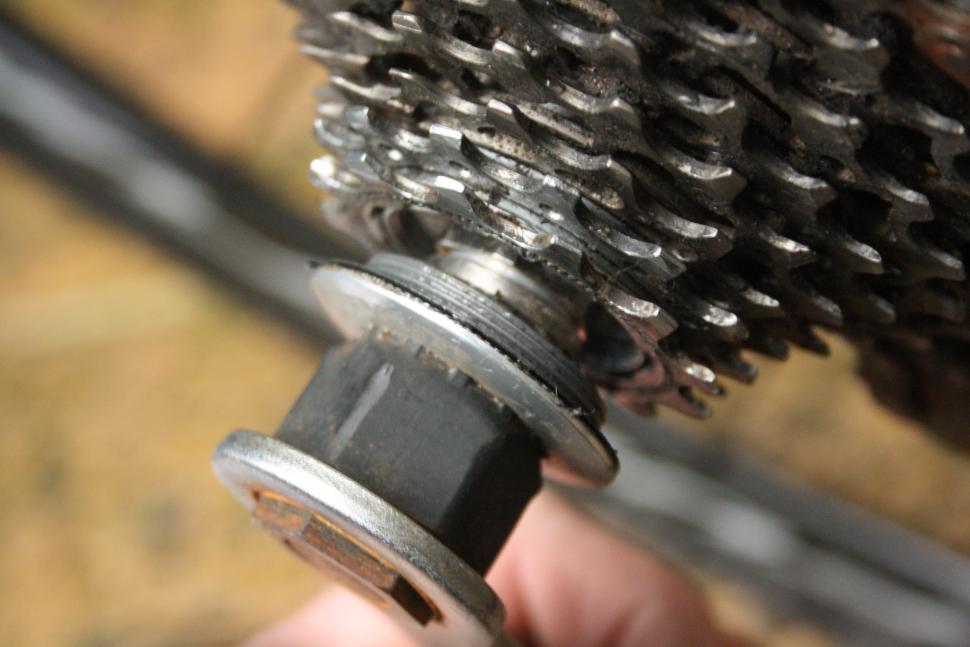
4 Remove the lockring
Once the lockring is loose, unscrew it from the freehub body. You'll see it come away from the cassette like this. Remove the chain whip and slide the tool and lockring out of the way.
5 Remove the sprockets
in the case of this particular cassette, the top three sprockets (11, 13, 14) are loose and they slide straight off. The remaining seven sprockets are all mounted to an alloy carrier body, so they can be removed as one unit. Here you can see them being slid off the cassette body (the white bit). Occasionally they can be a bit stiff to remove if the cassette splines have bitten into the freehub splines. Grasp the opposite edges of the largest sprocket and give a pull and a wiggle at the same time to get them moving.
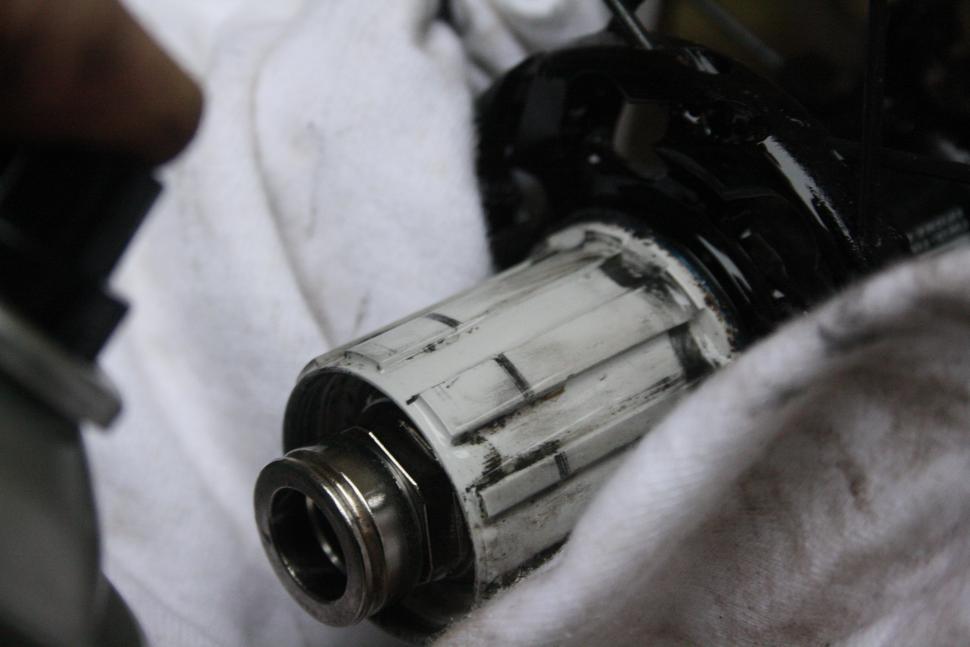
6 Clean the freehub body
Freehub bodies get a raw deal in life, carrying all the load and getting precious little reward. When you get to see yours, give it a clean.
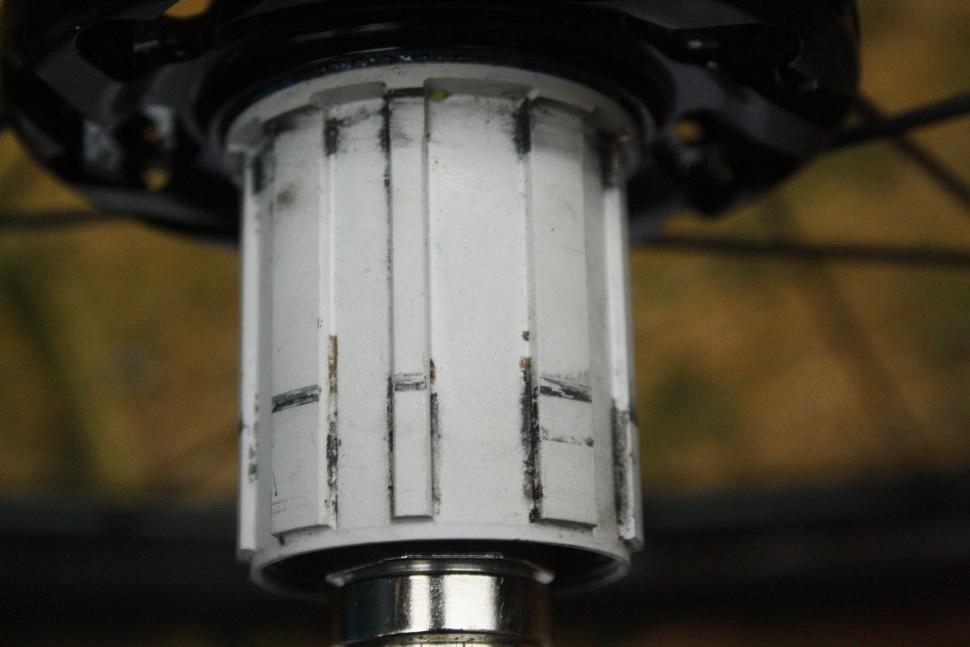
7 Splines
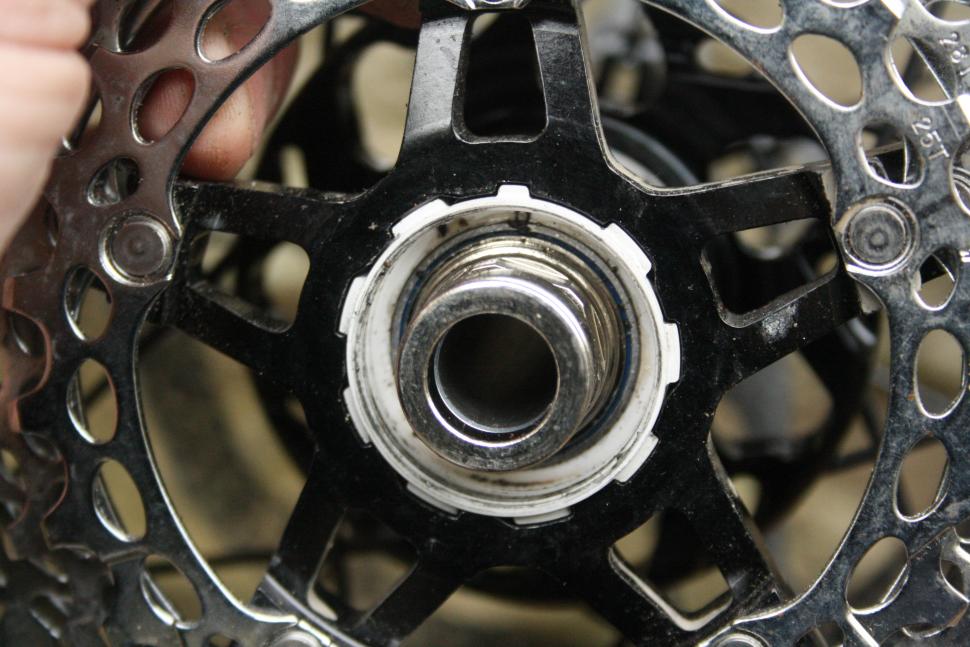
Now you've got the splines in clear view, you can see that they're not all even in size and spacing, as mentioned above, so that the teeth always align as the manufacturer intended.
8 Fit the new casette
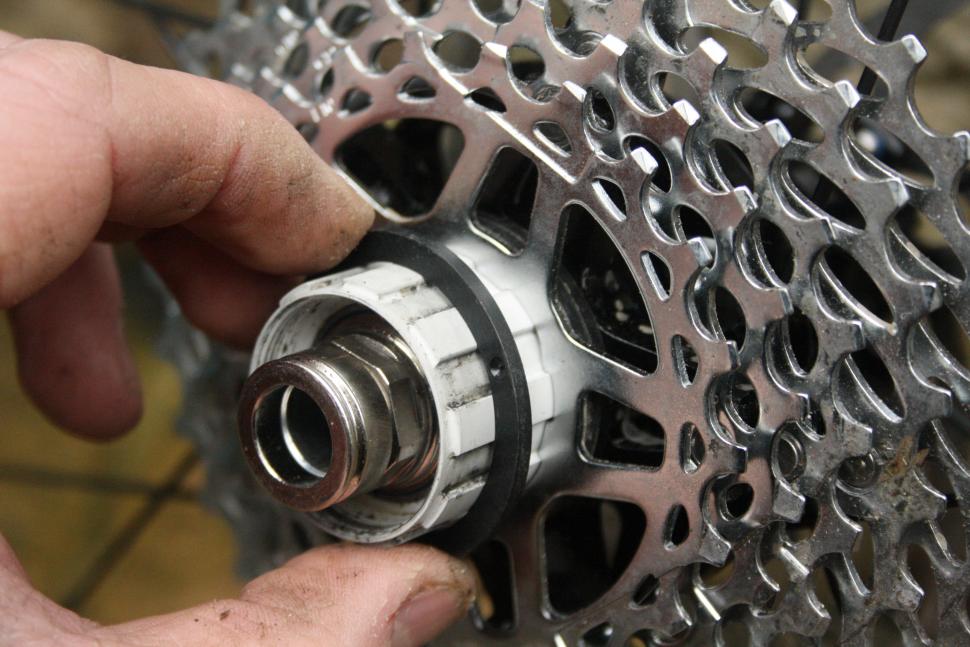
Here you can see the splined black alloy carrier of the replacement cassette going on. It's holding the four largest sprockets. The narrow/wide splines are clearly visible at the twelve o'clock position.
9 Fit the top sprockets
Sprockets that are not permanently mounted to alloy carriers (and are therefore already correctly spaced) will have separate plastic or alloy spacers. These keep the sprockets the correct distance apart for accurate shifting. Sometimes these spacers are just plain rings (like the one pictured here), however sometimes they too have splines, though when they are splined they have a number of 'clocking' positions they can be fitted at any position.
10 Fit the last sprocket
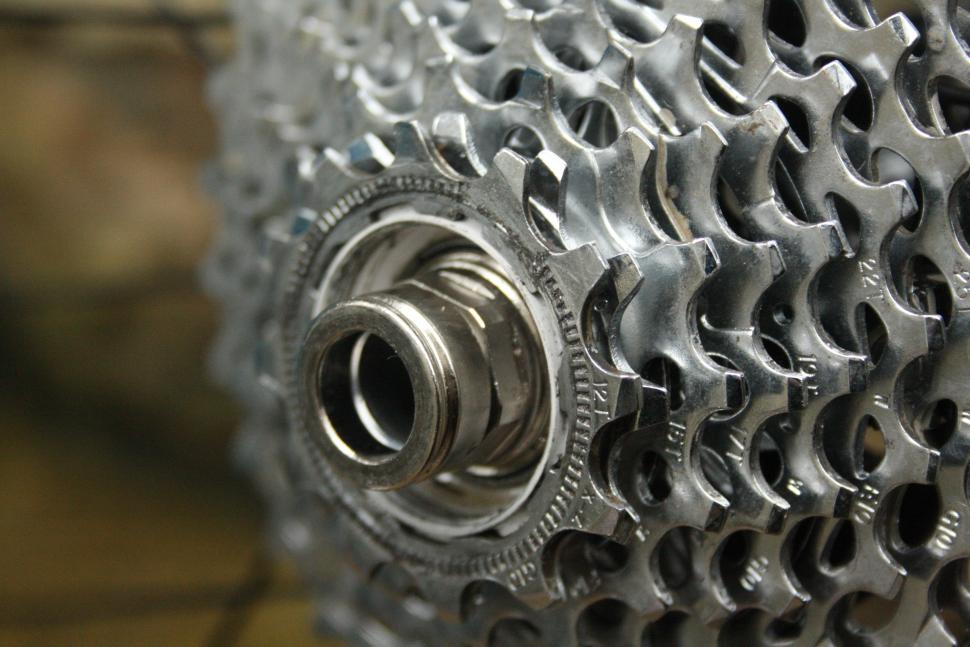
The smallest sprocket, here a 12-tooth, should fit and its outer face be just proud of the outer lip of the freehub body, the white bit in this shot. This means that when the cassette is tightened down with the lockring all the sprockets fit together tightly.
11 Fit the lockring
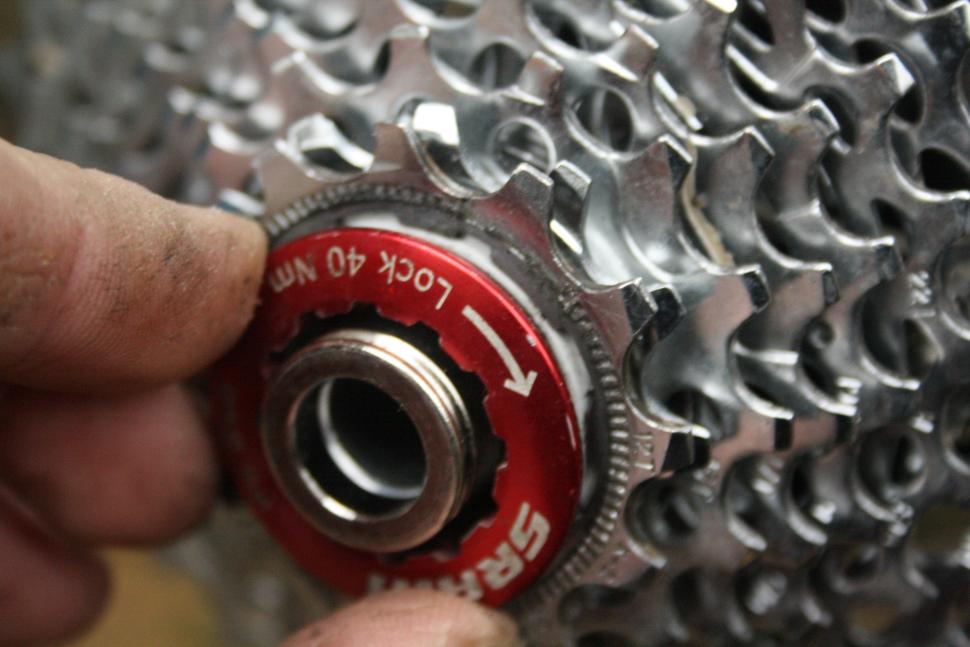
Screw the lockring into position with your fingers. The threads are quite fine and if the lockring is made from aluminium, they'll therefore be quite fragile. Take care not to cross them. The lockring should require only light force to turn it until it touches the top sprocket.
12 Tighten the lockring
Make the final tightening of the cassette lockring with the lockring tool. The official torque setting is 40Nm. We tightening it until we feel the serrations on the lockrings inner face binding with the serrations on the outer face of the smallest sprocket.
Read more: the full archive of road.cc repair and maintenance articles
Latest Comments
- qwerty360 2 sec ago
I gather in Edinburgh (family live there, so booking system I have seen in use), the booking system is actually fairly popular....
- pockstone 26 min 5 sec ago
The Washington Post had best watch their step publishing wokery like this in the current climate. Likely to end up in an El Salvadorean megaprison.
- mitsky 38 min 22 sec ago
"... struck by a driver..." http://rc-rg.com
- Rendel Harris 50 min 31 sec ago
That's only for longer journeys; obviously for short trips he employs the sedan chair.
- Rendel Harris 51 min 36 sec ago
No particular sympathy for MVDP, he knew the rules and chose to break them and so gets the punishment. However, isn't it time that we did away with...
- Tony W. 1 hour 30 min ago
In accordance with the highway code ? bus driver was breaking the speed limit, overtaking a child on a bicycle, he should've as far right as...
- polainm 1 hour 47 min ago
One is permantly in misery mode, the other all blacked out in stealth mode.
- mark1a 2 hours 5 min ago
...and go and ride your bike for two hours or less.
- polainm 2 hours 21 min ago
Just put in planning permission for a NASA sized warehouse the area of ten football pitches, right up against local housing. That'll go through no...
- Rome73 3 hours 16 min ago
It reminds me of the joke that used to do the rounds when I was younger;...

Add new comment
23 comments
I'd really appreciate your input on the following question. Can I pick and choose individual sprockets on my cassette?
If the "remaining seven sprockets are all mounted to an alloy carrier body, so they can be removed as one unit" (Step 5), how can I know what I can or cannot swap out (background- I've never taken a cassette off or handled one).
My endurance bike has 50/34 and 11-34 cassette on R7020 Shimano 105. My rides typically involve 2000+ ft climbing and double digital gradients. However, I never use the 34 sprocket and want to change out to 11-32. It seems the 11-32 is sold as 22-25-28 preceding the 32, which sounds too big a difference to the current 25-27-30 preceding the 34. Can I alter the four smallest sprockets on the new 11-32? Thank you.
You are mentioning the Big sprockets being a concern then mention the smaller sprockets. I assume you meant the larger teeth end. For Shimano 11 speeds, this pdf linked below will show you the setup of all your options.
https://si.shimano.com/api/publish/storage/pdf/en/dm/RACS001/DM-RACS001-...
For Shimanos, it is only the last three that are a solid unit. Personally you buy and fit as a unit as Shimano work out the best ratio across the board for each one. If you are currently used to having a 30 at the back as your last gear (ignoring the 34), and are not struggling, then go for an 11-30 because you won't have the option of a 30 on the other and might not be in the rhythm anymore.
Also be aware of chain change as well because I believe the length needed is normally decided on the large rings on both ends so if you reduce it significantly, the chain might be too loose. If you do decide on lower as well, you can have a shorter derailleur which might be better off road.
Thank you very much for taking the time to put that together. Yes sorry, I am referring to changing the largest sprockets. That's a really good point about not having a 30 (which I'll need) on an 11-32. Just to be clear, you say "the last three are a solid unit", so it's impossible to have both 30 and 32, therefore, because no cassette in the Shimano booklet offers this combination. Why aren't they all loose, if sliding onto a spline, would makes this all much easier. That means I'm either looking at a new lowest gear of 28 (ignoring the bail out 32), of an 11-32, or the 30 on an 11-30. Choices choices. And as with all things bike, I struggle to understand how people build up knowledge as you can't go buying all alternatives and trying this then that!
When I mention not having the 30, I meant you would be used to it so when you got to 28 on your normal climb you might find it slightly harder and 32 slightly easier and would need to work out which is best. Personally, if you really want to change then go for the 32 as you still have that slight bailout if for some reason it is more of a struggle (weather, slightly ill) but I expect you will end up using the 28 mostly.
As Boo mentioned below, you notice the jumps and use mostly the middle and small rings and that is where you want it to be closer teeth sizes.
Only pros riders change individual rings and they do it on analysing their best cadence, power output and the exact profile of stages. And even that is rare.
The Decathlon tool is an absolute work of genius in my opinion. It is so simple to use and as stated, there is no feeling that it is ever going to slip.
So, I currently run a compact 50/34T with 11-32 cassett. Since taking up cycling my goals have now changed and I want the option to have tigher gears for faster rides. Once I have changed the cassett (as above) how much work is needed on the rederailer, I currently have a medium cage derailer. For example if I had a set of wheels for hillier ride and a set of wheels for flat fast rides would it be simple to swop out?
A sprocket casette! Is that in case readers were looking at howe to change an 8 track casette?
Could you add in here: if you've a high performance bike it's likely that the freehub body will be made of a higher grade, softer alunium than your cassette and as a result you might have some notching that will lock the individual cogs in place. To remove these you need to turn the cogs in the oppositive direction which will require either another chain whip (one to hold the cassette, one to turn the cog in the no-drive direction) or you can do it in the bike using the one whip to lock the cassette and the chain itself to turn the cog in the wrong direction. It shouldn't take much force and is unlikely to damage anything.
Ta
I feel the decathlon chain whip / tool is worthy of a mention. As you said its most effective chain whip you've used, I concur http://road.cc/content/review/152537-btwin-chain-whip
I was having a look at one of these last time I was in Decathlon, thought it looked like a great idea. I didn't buy one as my current chainwhip works fine, but if you don't yet have one it looks like a far more elegant solution.
I had a chainwhip that "works fine" - the Decathlon doobry knocks it in to a cocked hat for utility though. Absolutely no risk of slipping and skinning your knuckles. Gave the old school chainwhip away to a ride buddy who wanted to borrow it...
Since this article was first published three years ago, I managed to bend that chain whip and replaced it with the Decathlon tool. 🙂
These articles are all well and good, but the various techniques are better explained to the newbie target audience by video, as demonstrated by myriad more useful clips on YouTube.
Also, there's a hell of a lot of difference between 14 and 40 Nm.
Not when I'm in charge of the spanner, there's not.
I bought a simple lockring tool that is held in place by the QR like this Park one:
Used with an adjustable spanner, it feels more secure as it can't slip out of the spline as I exert significant pressure on it... or is that a groundless fear?
Tightening locknut requires significant force, the 'clinking' sound of the notches catching is a good indicator.
Or Approx. 30 ft/lbs in English money .
.
is that the Rees-Mogg measurement system?
"torque setting is 14Nm". Think that should be 40Nm.
It should be tightened to 40Nm, not 14Nm. It's printed on the lock ring. About 3 or 4 clicks in my (Shimano) experience.
In all the years I've been taking off and refitting cassettes I'd never bothered measuring torque - again, probably about 3 clicks. But on checking one I'd fitted more recently, I'd guess I've probably never used more than about 12-15Nm. And I've never had one shift or come undone..
Some recent aluminium hubs are so poor in precision and so soft that the sprockets wiggle around and gouge the hub unless they are tightened down to very high Nm.
nice to see you take good care of your tools
the state of that chain whip!
Which is why I would personally recommend some sort of stout plastic toolbox and counsel against storing expensive equipment on a shale beach or similar.